herbdavidguitarstudio
Music Brings Harmony To The WorldThe Ultimate Stay-at-Home Entertainment: DIY Indoor Bowling Alley
Sunday , 31, March 2024 Business and Management Comments Off on The Ultimate Stay-at-Home Entertainment: DIY Indoor Bowling Alley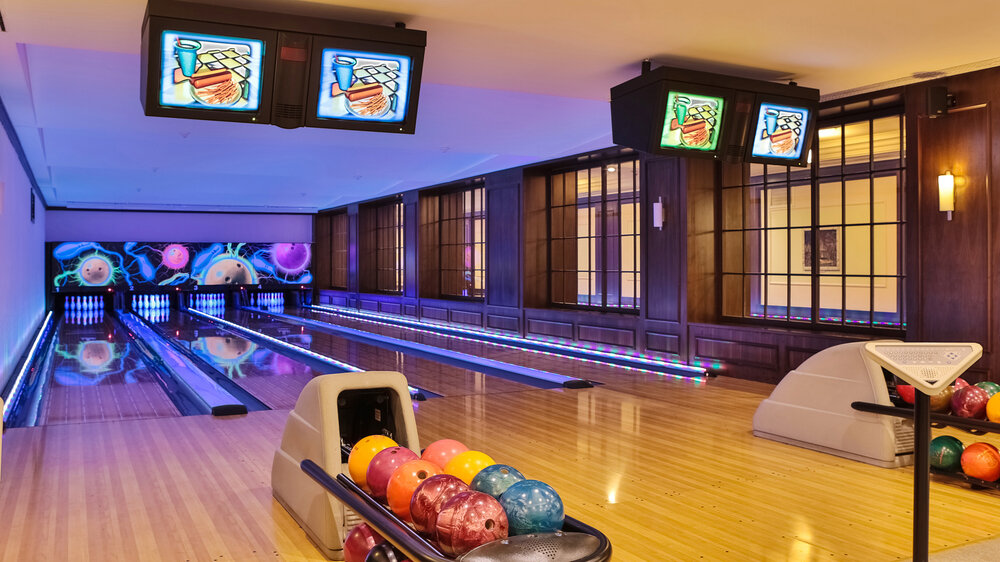
Image Source – Google
With many of us spending more time at home these days, finding ways to keep ourselves entertained indoors has become essential. If you're looking for a fun and creative way to pass the time, why not consider building your very own indoor bowling alley?
If you are looking for DIY Indoor Bowling Alley installation services then you may visit this website.
Benefits of a DIY Indoor Bowling Alley
Creating a DIY indoor bowling alley can provide hours of entertainment for you and your family. Not only is it a great way to stay active and have fun, but it also offers several other benefits, including:
- Customization: You can tailor the design and layout of your bowling alley to suit your space and preferences.
- Cost-effective: Building your own bowling alley can be a more affordable option compared to going out to a bowling alley regularly.
- Educational: Bowling can help improve hand-eye coordination, concentration, and strategic thinking skills.
- Socialization: It's a fantastic activity to enjoy with family and friends, fostering bonding and friendly competition.
Materials Needed
Before you get started on building your DIY indoor bowling alley, here are the materials you will need:
For the Bowling Lane:
- Smooth wooden boards or sheets of MDF
- Bowling pins
- Bowling ball
- Wood or plastic gutters for the sides of the lane
- Adhesive or nails to secure the gutters
- Bowling lane wax or polish
For the Bowling Pins:
- 10 empty and clean plastic bottles
- Paint and paintbrushes
Building Your Bowling Alley
Now that you have gathered all the necessary materials, it's time to put it all together and build your DIY indoor bowling alley. Follow these steps to create your own entertainment hub:
Step 1: Prepare the Bowling Lane
- Measure and cut the wooden boards to the desired length and width of your bowling lane.
- Secure the gutters along the sides of the lane using adhesive or nails to keep the ball on track.
- Polish the lane with bowling wax or polish to ensure a smooth surface for the ball to roll.
Step 2: Create the Bowling Pins
- Paint the plastic bottles to resemble traditional bowling pins.
- Allow the paint to dry completely before setting up the pins at the end of the bowling lane.
Step 3: Set Up Your Bowling Alley
- Place the bowling lane in a spacious and flat area of your home, ensuring there is enough room for a full approach to the lane.
- Arrange the bowling pins at the end of the lane in a triangular formation, just like in a real bowling alley.
- Grab your bowling ball and take turns bowling with your family and friends.
Tips for a Successful Bowling Experience
To make the most of your DIY indoor bowling alley, here are some additional tips to enhance your bowling experience:
Ensure Proper Lighting
Good lighting is essential for accurately aiming and hitting the pins. Make sure the area where you set up your bowling alley is well-lit.
Create a Scoreboard
Keep track of each player's scores by setting up a simple scoreboard nearby. This adds to the competitive spirit and excitement of the game.
Add Music and Snacks
Enhance the fun atmosphere by playing some music in the background and having snacks or refreshments available for breaks between games.
Conclusion
Building a DIY indoor bowling alley can be a rewarding and entertaining project for the whole family. It offers a unique and enjoyable way to stay active and bond with loved ones without having to leave the comfort of your home. So, gather your materials, follow the steps outlined above, and start enjoying hours of bowling fun right in your living room!